
Every great experiment in engineering begins with a moment of impatience. The Project 27 team wanted to know if an entire embedded computer could be rebuilt not by drawing faster, but by teaching a system to think like an engineer.
When the Altium design files were dropped into Quilter, each net, bypass cap, and differential pair became more than geometry, a data point in a living constraint model. The process wasn’t about outsourcing creativity; it was about making design intent executable. Over the next few days, the algorithm placed more than 500 components, routed 2,000 connections, and solved nearly 99 percent of the board with manufacturable 3.5 mil trace/space geometry all while the engineers refined its logic each night
This document captures that experiment in motion: how constraint-driven automation, real fabrication parameters, and a bit of curiosity converged to make a 400-hour project unfold in less than two.
Uploading Project Files to Quilter
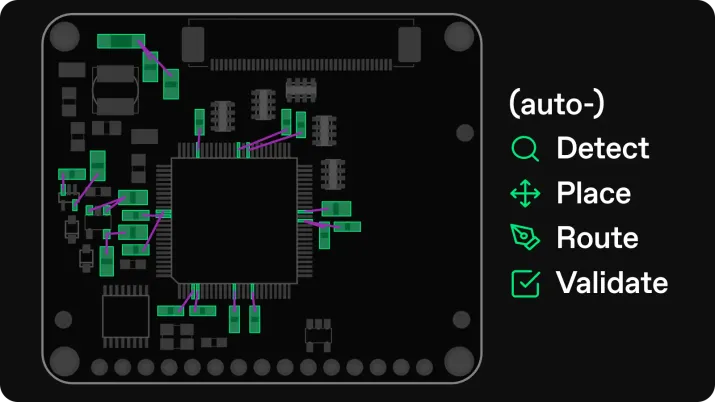
With the project files ready, we can hand over the keys to the automation. Quilter can read the Altium files natively, so we simply drag-and-drop all of the schematics and the board file to begin the upload process.
It was very important to ensure that each of the critical concerns that Quilter is capable of solving for were correctly specified. We started off by looking at the bypass caps defined throughout the board:

These cap assignments are largely automatically detected following the pattern described above in the schematic section. Still a couple of incorrect classifications can slip through, so we checked each entry for accuracy.
Differential pairs were also automatically detected based on the net names (the _P, _N suffixes). We set the impedance control targets for each net pair as well:

The baseboard also had a few crystals and switching converters that required special layout precautions:

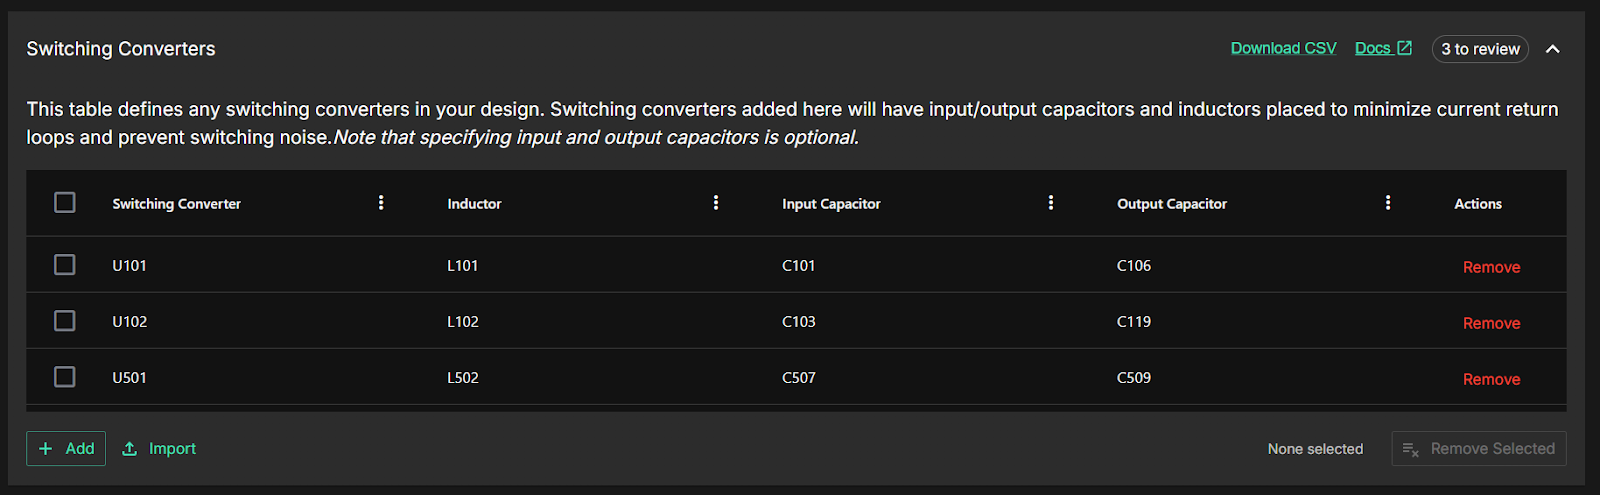
Finally, we also specified the high current nets, and enabled polygon generation for those nets.
Running Board Generation in Quilter
Baseboard
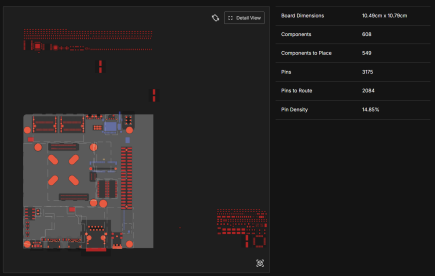
For the baseboard, the candidate that we ended up building on top of took about 27 hours to compute including placement and routing. Quilter was responsible for placing a bit over 500 components, and routing about 2k pins to reach this result.
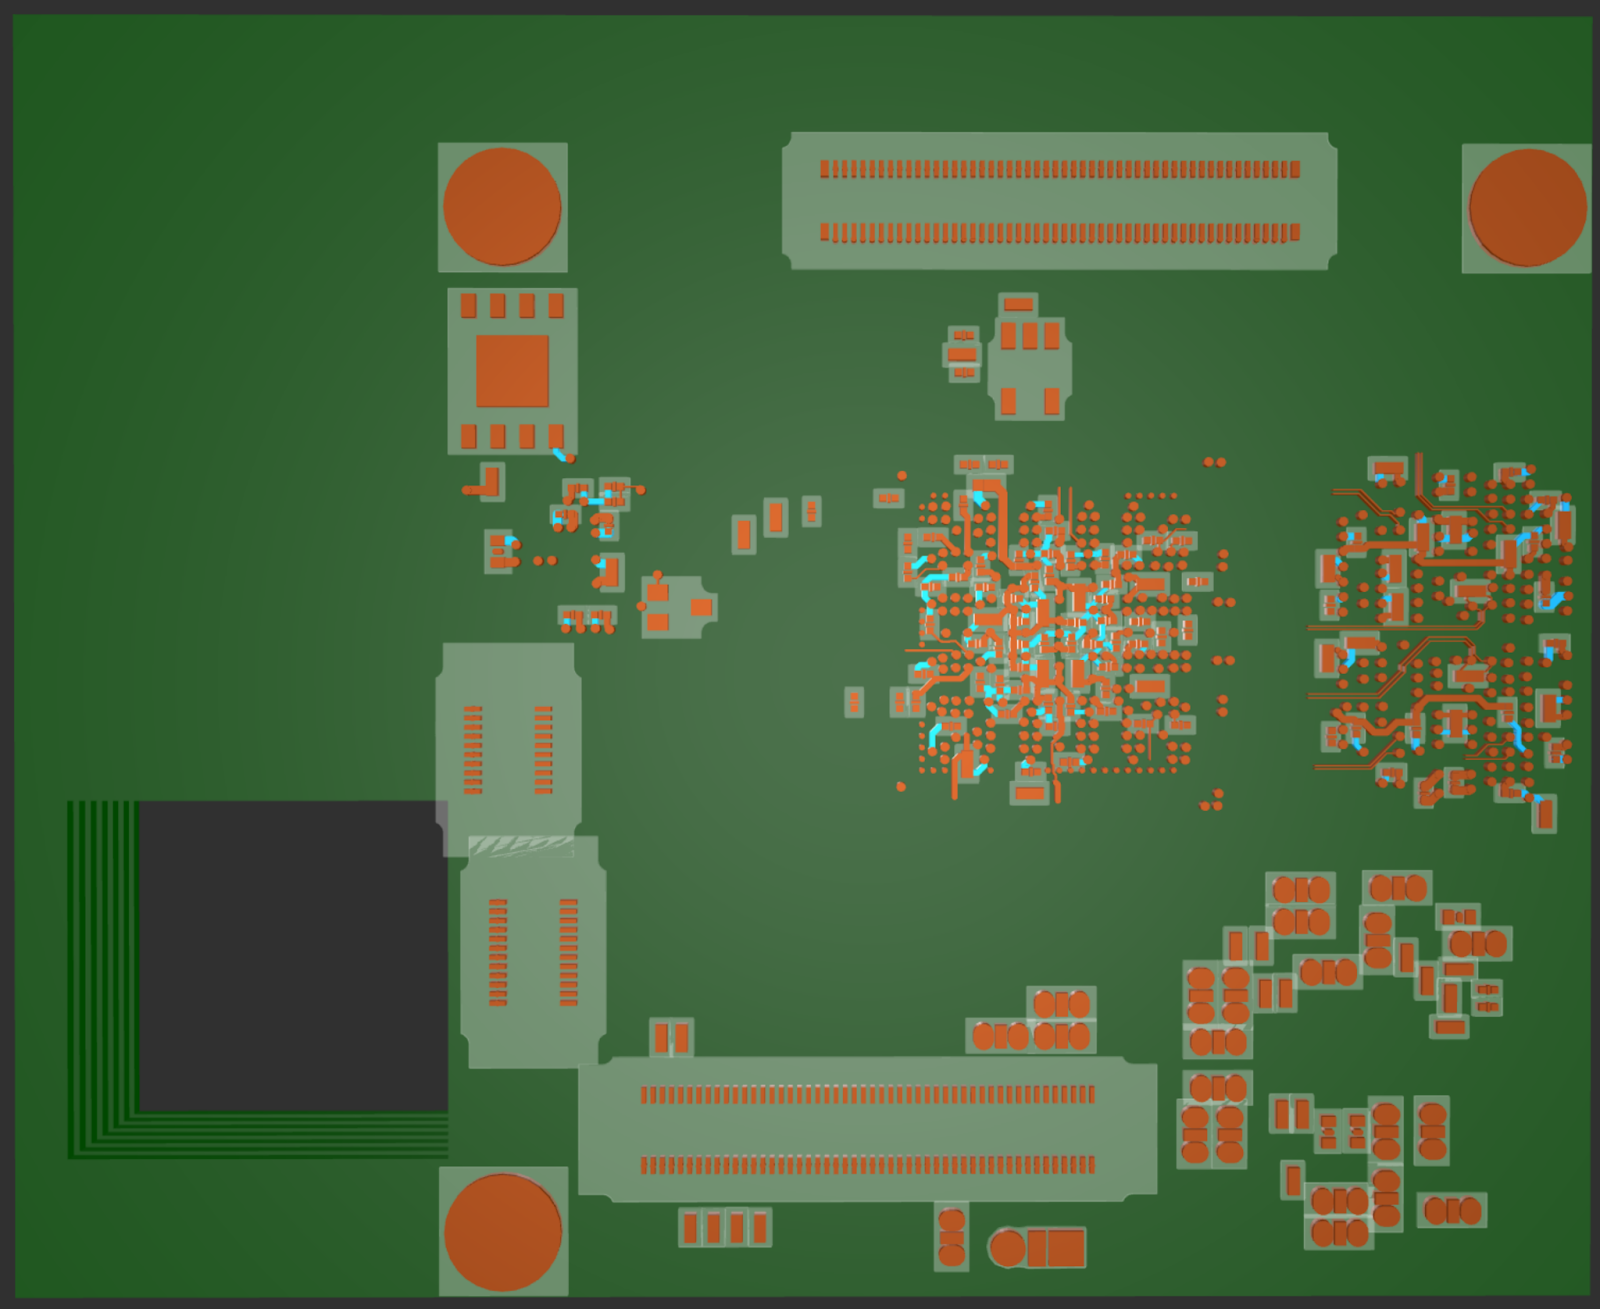
We ended up not choosing the candidate with the highest completion (that was a 99% completed candidate that used a 3 mil trace/space requirement). Instead we went with a slightly higher margin candidate that solved 98.4% of connections, but met 3.5 mil trace/space - manufacturable at even inexpensive fabs such as JLCPCB.

SOM
We ran the SOM in a slightly different way than the baseboard design. The SOM was a much more difficult challenge than the baseboard, and it consumed the vast majority of our development time. In fact, we had initially planned to only build the SOM, and threw the baseboard into Quilter just for fun near the end of the project - and it happened to do well without any extra effort. That was certainly not the case for the SOM.
First, to simplify the task, we decided not to use Quilter to place the SOM board, and to focus just on routing. A second major simplification was to pre-route a human created partial fanout for the BGAs. We could then focus on the difficult routing, length matching and polygon generation tasks - amongst other issues.

We ran these compile runs nightly, as the team made progress on improving the algorithms. For reference, our initial runs started near 60-70% completion, with no length matching, polygons, high current nets, and most differential pairs failing to route. We also decided to remove the WiFi / Bluetooth module as it was out of stock, we didn’t want to risk a major modification to the schematic, and were having enough fun with the rest of the board as it is.
On the fabrication side, we relied on Sierra’s ability to etch down to 2 mil trace/space to make the routing problem easier. The original board went down to about 3.2 mil, so we didn’t quite reach the tolerances that the human design used. We reached about 96% completion at 3 mil trace/space - closing that gap will be future work (see lessons learned). Still, given Sierra could comfortably manufacture with this tolerance, we proceeded with 2 mil trace/space since we squeezed a bit more completion out of Quilter.
Quilter took a bit over 15 hours to route this board. It reached a 98.7% completion, and produced no DRC violations.
Finishing Up a Single Board Computer
By the time both boards came back from Sierra Circuits, they worked on first power-up. No shorts, no missed nets, no DRC noise. The results didn’t happen because an algorithm suddenly became “smart”—they happened because the engineers defined what success meant, and the system learned to follow that logic.
Across countless nightly compile runs, every correction, fan-out tweak, and polygon refinement became a new rule for the next iteration. What began as a routing challenge ended as proof that hardware knowledge itself can be codified, reinforced, and reused.
Project 27 isn’t just a benchmark of speed; it’s a blueprint for how future teams will build: human reasoning expressed as constraints, fabrication joined in the loop, and every successful board teaching the next one how to get there faster. That’s the legacy of the 400-hour problem—solved not by shortcuts, but by definition.
To look into what it takes to clean-up the Quilter output of these jobs, click into the next article here.